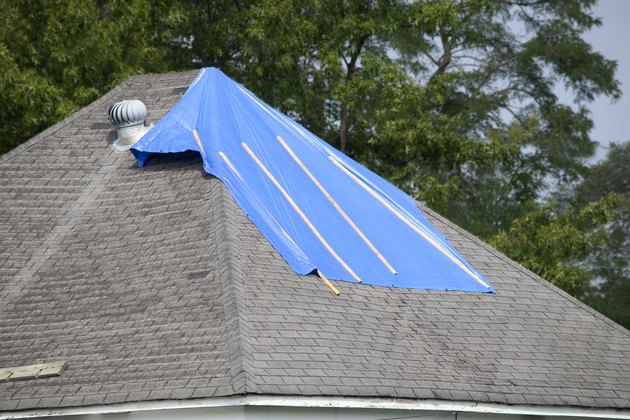
The Basic Strategy for Tarping a Roof
Roof leaks can be difficult to pinpoint. The best diagnostic method is to go into the attic and look for water dripping from the underside of the roof deck. If you can't get into the attic, the task is more difficult, because water can seep a long way along the roof rafters before it drips onto the ceiling and into your home's interior. If you go on the roof and inspect the shingles, the reason for the leak is sometimes obvious, but often it isn't, and you may end up having to tarp over a large part of the roof to be sure that the damage is covered.
Purchase a tarp that will cover completely cover the area, with 2 or 3 feet to spare on all sides. The tarp should be long enough to extend over the roof peak or hip and extend at least 4 feet down the other side. This is important. If the tarp doesn't extend over the peak of the roof, water can get underneath the tarp, rending it useless.
TIPS
It is best to use poly tarps for covering a roof; canvas ones are too heavy and expensive. Choose heavy-duty poly tarps with a double layer or a thick weave that won't tear in the wind.
The general procedure is to wrap the top and bottom ends of the tarp around 2-by-4s and screw the lumber to the roof. You then secure the sides of the tarps by placing 2-by-4s over them and screwing them down. Naturally, this means that you have to put holes in the roof that will have to be repaired by the roofers when they finally arrive. If putting holes in your roof makes you uncomfortable, or if you have a tile roof, purchase a tarp long enough to extend past the eaves on both sides of the roof so you can attach it to the siding or the soffits.

No comments:
Post a Comment